No products in the cart.
Solar Installation Job: What to Expect
Here’s a high-level overview of what takes place when a customer hires a professional for a solar installation job and chooses to add solar to their home.
Note: We are not a solar installation company. Here at Everblue Training, we offer solar installation training so you can learn the electrical theory and installation technique to apply for solar jobs in your local area.
To learn more about our solar installation courses, please call (800) 460-2575 or visit our Solar Training page.
For info on employment, visit our How to Find a Job in Solar page.
Now, without further adieu…
Solar Installation Process
Phase 1 Consultation: Customer Evaluation/General Site Visit

When a prospective client contacts a solar installation company seeking information, what occurs is actually a back-and-forth conversation. The client wants to know how it all works, including steps, timeline, and pricing. The solar installation company has questions of its own that will help inform the answers to the client’s questions, including:
- Homeownership vs. rental status
- HOA requirements
- Whether the roof has shading
- Who the local utility service provider is
This conversation may also lead to an introductory on-site visit to determine:
- Roof type
- Angle of roof
- Shading
- Solar system size
- Additional roof measurements
And finally, the installer may take photos of the property to back up the information collected from the visit.
Phase 2 Consultation: Home Inspection/Engineering Site Visit

Now that there is a deeper level of understanding for the client and the solar company about what’s required to add solar to the home, the next step is a more intensive site visit. During this visit, an engineer (either with the solar company or hired independently) will physically evaluate the home and look at:
- The electric panel (where the fuses or circuit breakers are) to determine if it can handle the solar installation or whether it needs to be updated. Upgrading the electrical panel means adding more amps of current and ampere capacity.
- The condition of the roof to ensure that it’s structurally sound
- Shading and sunlight availability
- Where the solar PV system will be located on the home (and determine its size)
- Current power bills
The engineer may also use a tool known as a Solar Pathfinder to calculate precisely how much sunlight the solar system will be able to capture. Certain credit or rebate programs will require this step as proof that the solar system meets minimum efficiency requirements
Custom Proposal
After these conversations and inspections, the solar company has enough to develop a work proposal for the client. The proposal should include:
Specific facts/measurements about the roof/home in question
- Recommended solar system design: panel wattage and manufacturer, roof facet selection, inverter type, sizing, and which roof facets to use in order to make sure the client gets the perfect system at the best price
- Recommendations and tradeoffs of each option
At this point, the client will work with the solar company to finalize and approve the intended solar system design.

Sign Contract
With the finalized proposal in hand, the client will sign a contract, granting permission for the work. The contract will also outline whether the system will be completed via a lease, loan, cash purchase, or power purchase agreement.
Permitting
Now that the contact has been signed, it is the solar company’s responsibility to initiate the installation project by applying for permits with the local planning and zoning commission.
Permits are the logistical paperwork required for a solar panel installation.
- Some of the paperwork involves applying for state and federal solar incentives, such as the federal investment tax credit, local solar programs, clean energy financing initiatives like PACE, government rebates, and solar renewable energy certificates (SRECs)
- Other paperwork includes building permits, which are specific to where the client lives. For example, certain states require that a roof has three feet of clear space surrounding the solar panels, whereas other areas of the U.S. will allow you to install panels across the entire surface of your roof. The solar installer should know the restrictions and requirements of the states in which they operate, and can help a client figure out which permits are needed – in many cases, the installer will fill out this paperwork.
The client should get copies and keep them for their records. They’ll need copies when selling the home to document that all necessary approvals were received. Copies of the permit can be a requirement for certain incentive and financing programs.
The solar contractor will submit the documents to the local agencies and utility for approval.
Schedule an Installation

It should go without saying that the solar company and the client should agree upon a date and time for when the solar installation should occur. This timeframe varies, depending on:
- When the permits get approved
- If the solar contractor has the equipment in stock
- How busy the solar company is with other installations
- Client availability
Getting the Equipment

If solar contractor doesn’t already have the equipment in stock, they’ll have to order it from a distributor. This can be done during the permitting process or after.
The two components that are most often researched and ordered are solar panels and inverters.
The solar installer will likely recommend a particular brand for each and will additionally offer a few alternatives.
Durability, efficiency and aesthetics are the primary factors most homeowners will use to compare the various brands (other than price).
Installation

Here’s the part that everyone is familiar with!
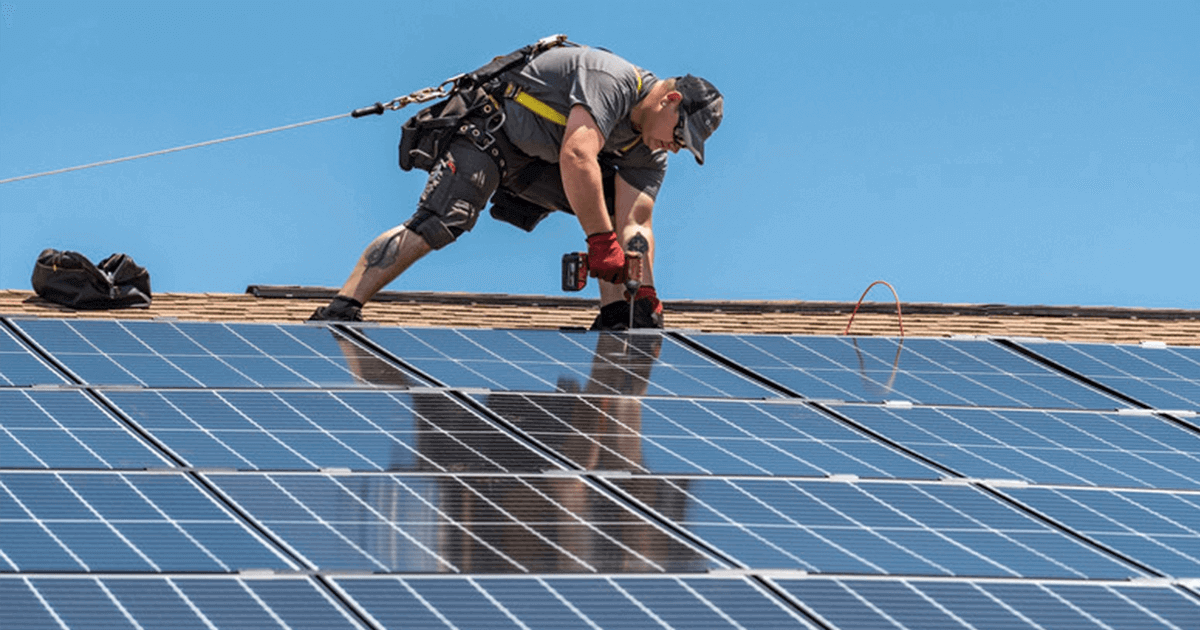
On a high level, the day-of solar installation job will look like this:
- Prep the roof and make sure the shingles or tiles are properly attached
- Start installing the wiring for the new solar system (electrical wiring that will connect to the electrical panel and general power system)
- Then install racking equipment on the roof (to support the solar panels, this is the only piece of equipment that will actually be attached to the roof). Once the racking is level and safely attached, the panels are placed onto the racking.
- Finally, connect the solar panels to the inverter or power controllers. Inverters are connected to the panels to convert direct current (DC) to the alternating current (AC) energy used in homes and on the electric grid.
Utility will Swap Meters

If the client lives in an area where net-metering is allowed, the solar installer or local utility will install a new power meter that allows for bi-directional metering of electricity.
Interconnection

With the solar panel system physically installed at this point, the last step is final inspection from the utility and/or local officials.
The solar company should send someone to meet the representatives to show them all of the technical details they’ll need to review, including all of the interconnection points and electrical systems.
Inspectors will ensure that the work done by the installer was done safely, appropriately, and to code. This will include verifying that the electrical wiring was done correctly, the mounting was safely and sturdily attached, and the overall install meets standard electrical and roof setback codes.
Once inspectors have signed off, the switch is flipped, and the solar panels are officially generating electricity for the home.
Does this solar installation job sound appealing to you?
If so, start your journey with solar panel installation training from Everblue. View our solar courses or give us a call at (800) 460-2575.